Five minutes, onceDay one
- Your owner adds you to the team with your name and phone number. That’s the whole invite: open usefieldforge.com/app on your phone, enter that same phone number, and a text code signs you in. No invite code, no password, ever.
- Install it. Tap the Install banner on the home screen (or your browser’s “Add to Home Screen”). Now it opens like a real app, and it keeps working with no signal: notes you record in a basement send themselves once you’re back in coverage.
- Allow the mic the first time you record, and location if your shop uses the live map. Your position is only shared while you’re clocked in. Off the clock, you’re invisible. That’s by design.
So you never miss a jobTurn on notifications
Messages from the office and new job assignments can pop up on your phone like any app notification, even when FieldForge is closed. Two minutes, once per phone:
- iPhone first: notifications only work from the installed app, so finish the “Add to Home Screen” step above and open FieldForge from that icon (iOS 16.4 or newer). Android phones work either way.
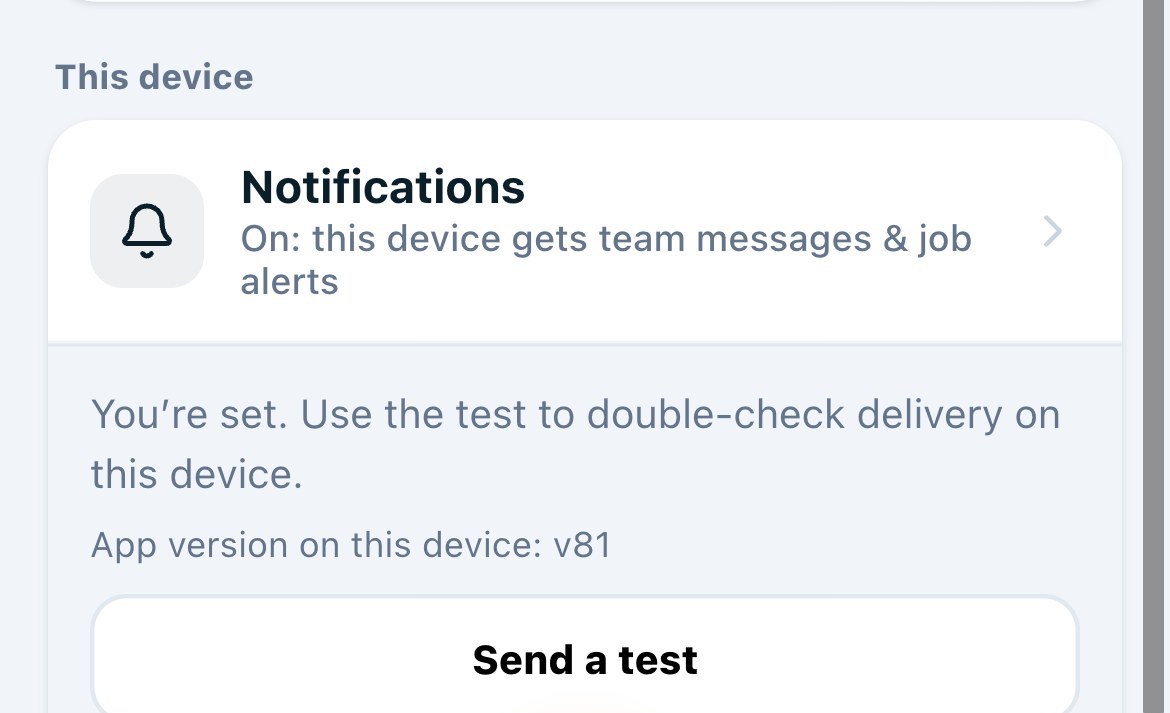
- Tap the “🔔 Turn on notifications” card on your Home screen (or go to More → Notifications → Turn on) and tap Allow when your phone asks.
- Prove it works: in More → Notifications, tap Send a test. A notification should land within a few seconds.
Two tapsYour morning
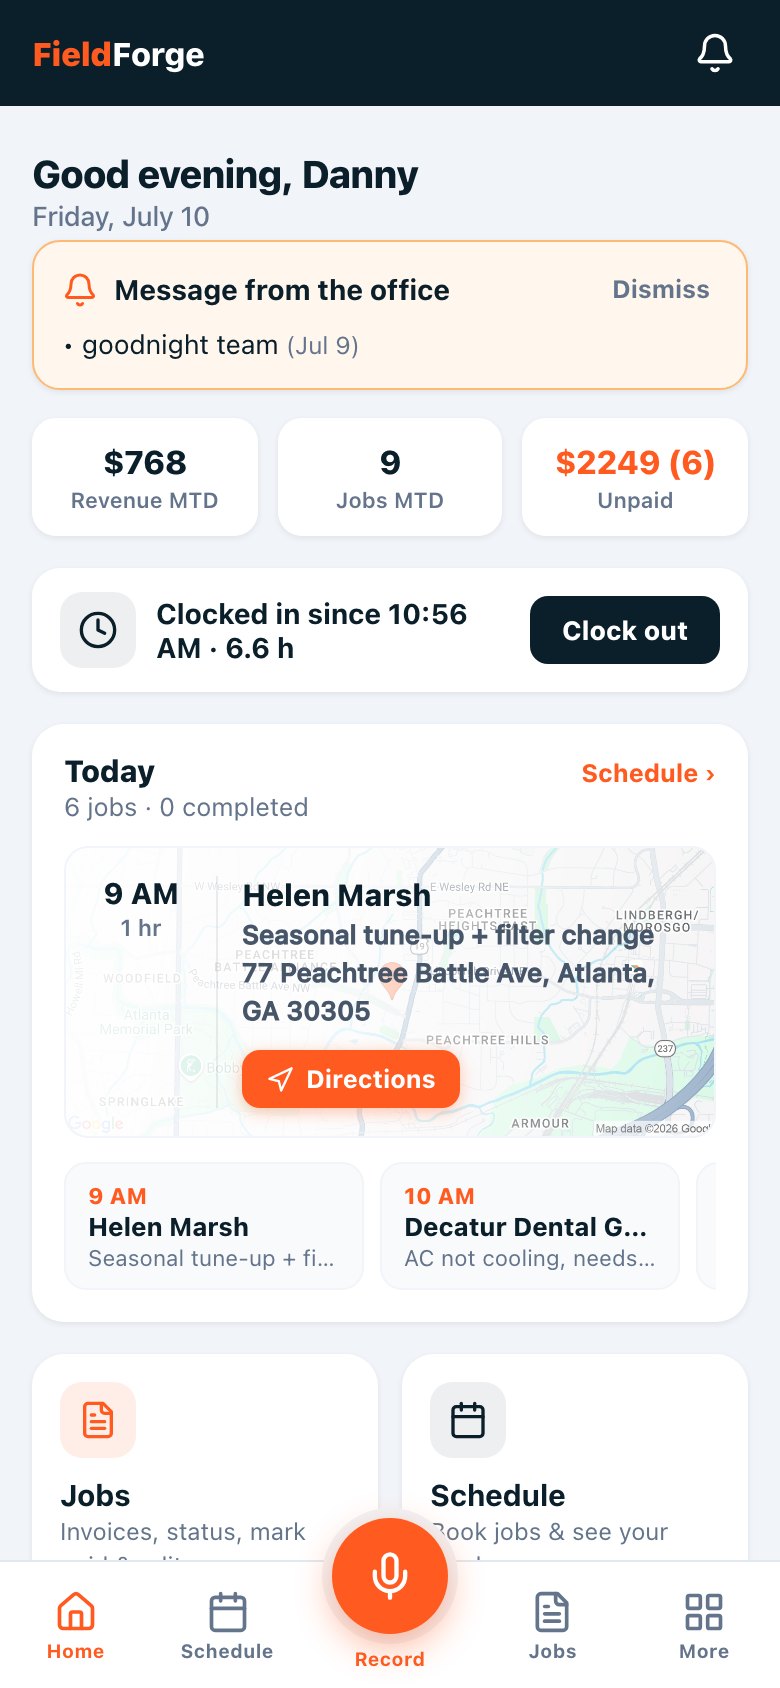
- Clock in from the home screen. This starts your hours (which become your pay) and, if your shop uses the map, puts you on it.
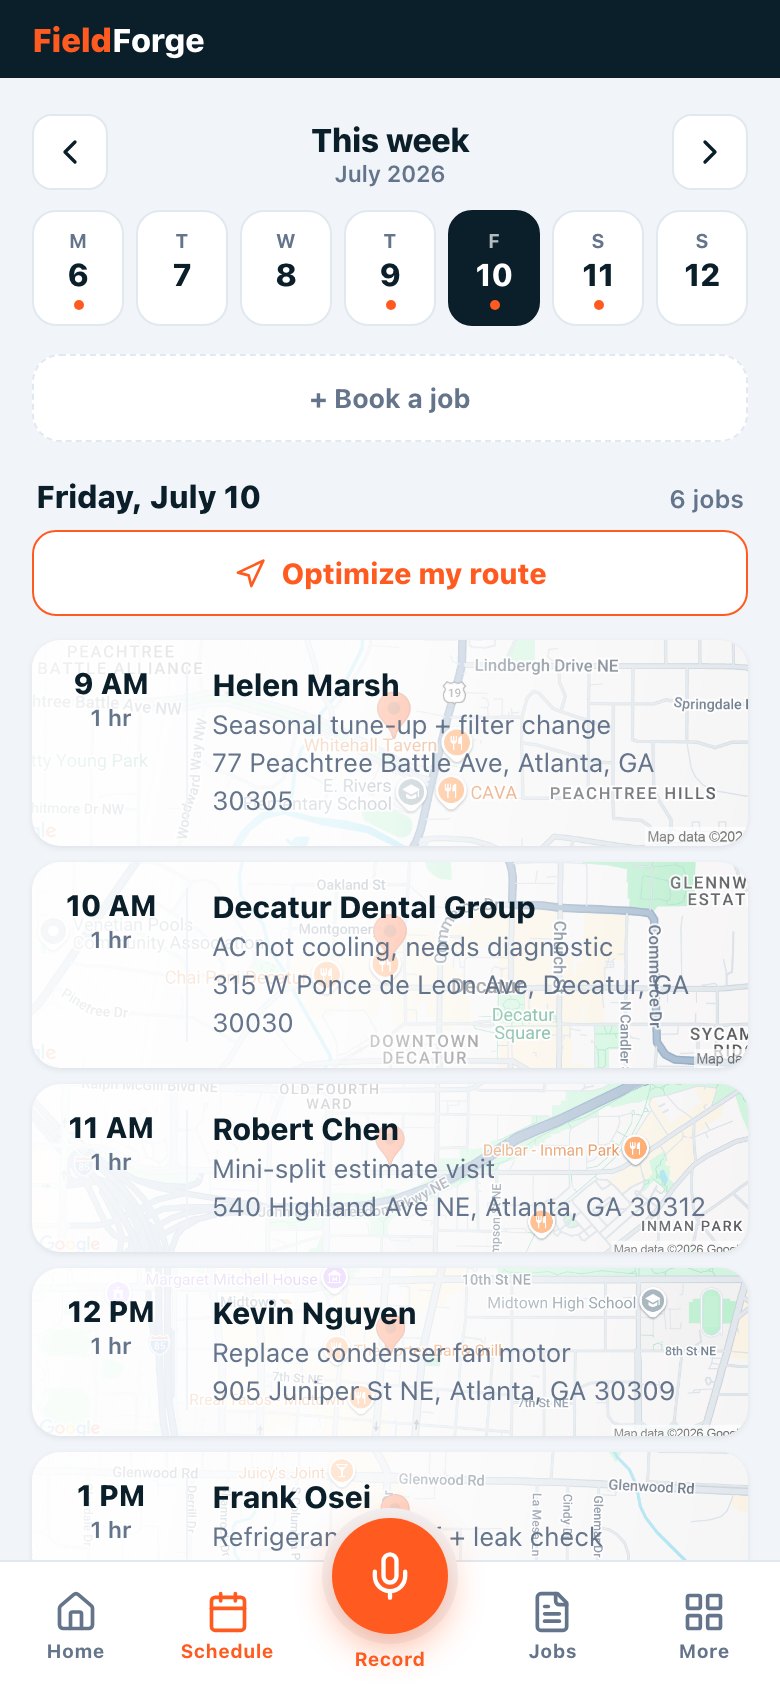
- Look at Today. Your visits are in order with drive times. Tap Directions and go. Anything the office adds to your day pops up as the orange banner and a text.
- Rolling to a job? Tap “On my way.” The customer gets a text with your photo and a live page showing where you are and when you’ll arrive, so nobody calls the office asking. The link shuts off by itself the moment you tap I’ve arrived.
Talk like you talkRecording a job
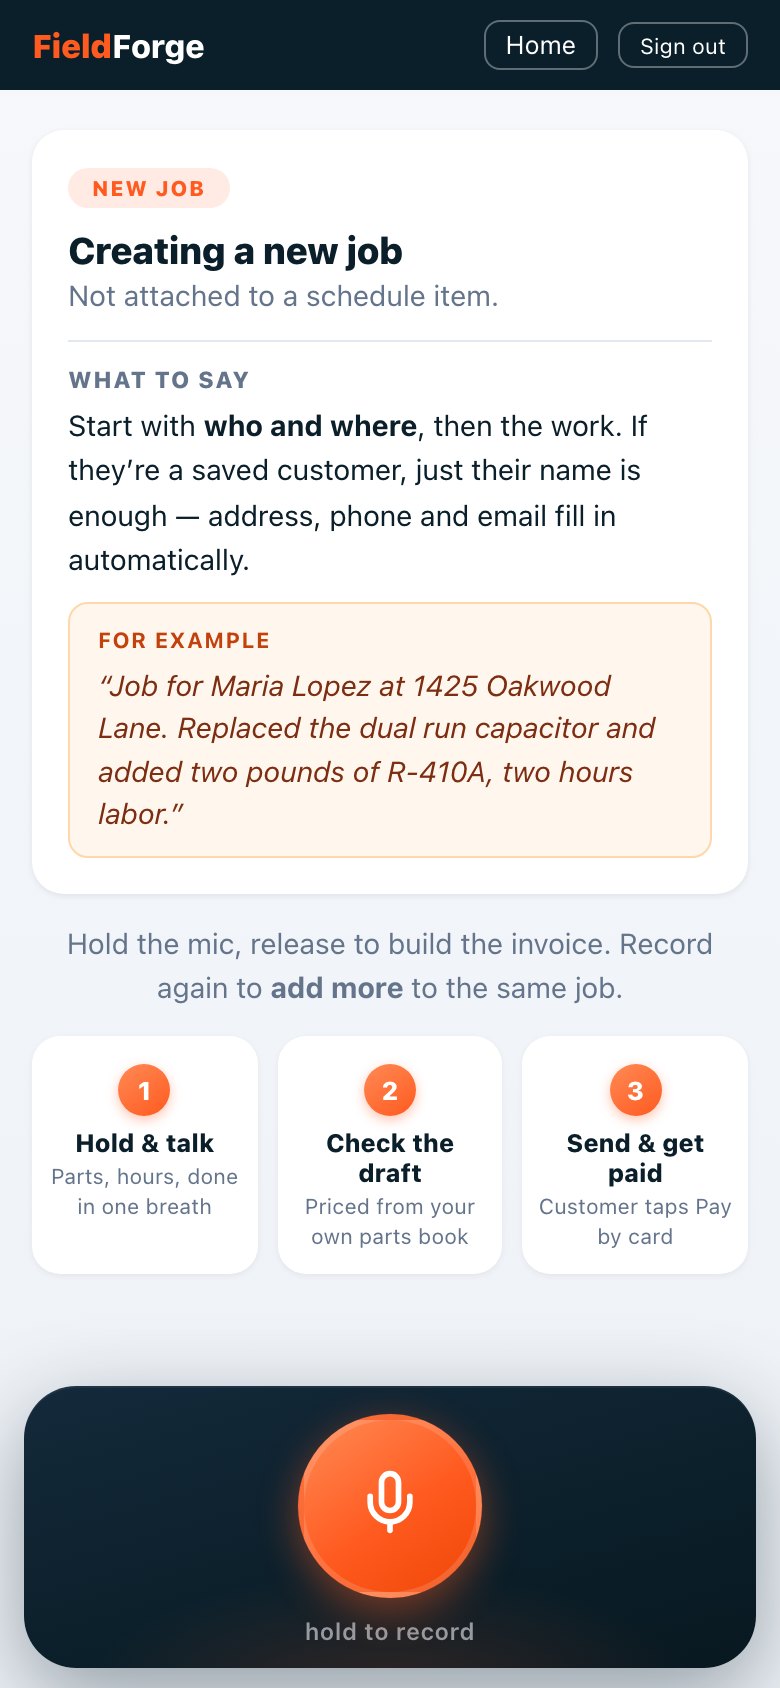
When the work is done, before you leave the driveway, hold the mic and describe the job. The recipe is simple: who and where, then the work.
- Saved customer? Their name is enough. Address, phone and email fill in from their record.
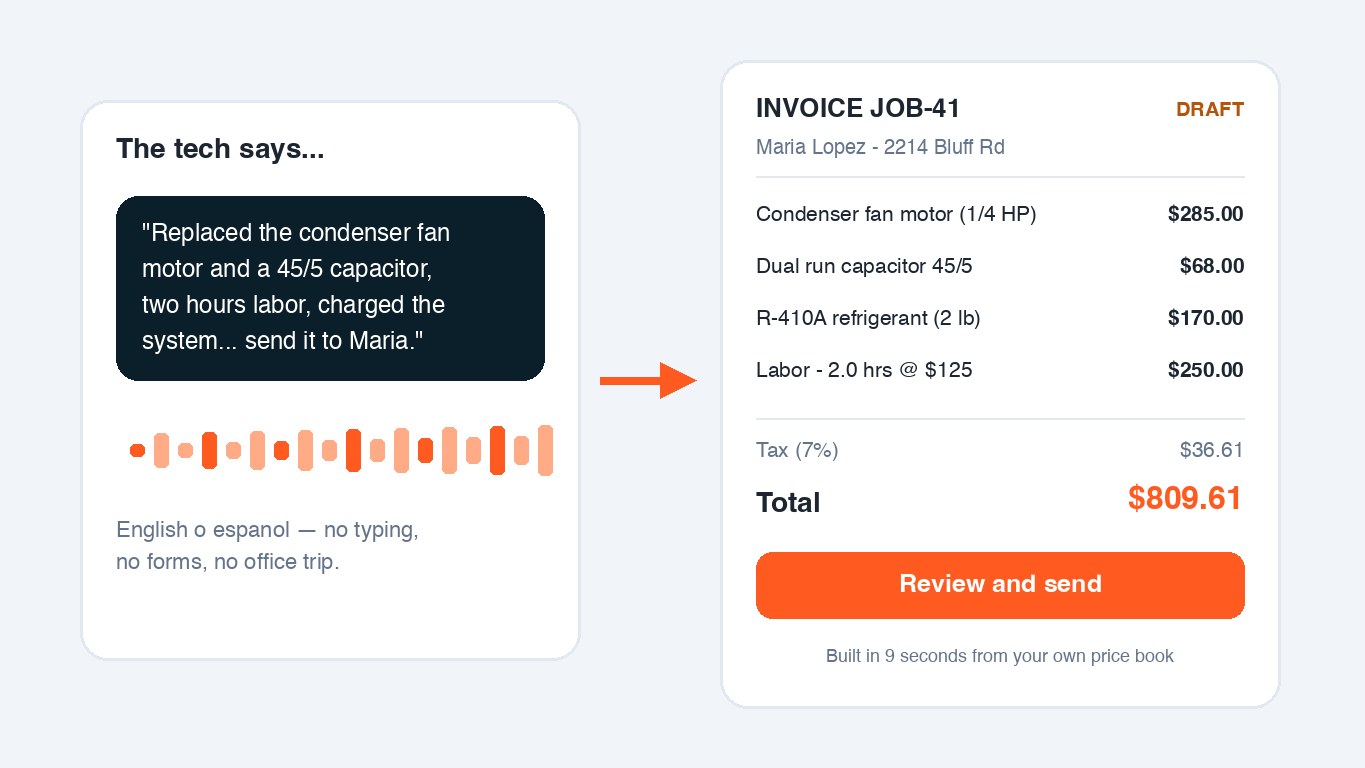
- Parts: use your shop’s price book names, nicknames included (“forty-five five” finds the 45/5 capacitor). Say quantities.
- Labor: say the hours, or the flat job charge if that’s how your shop prices.
- Forgot something? Record again on the same job. It adds to the draft, it never starts over.
- Español funciona igual. Describe the job in Spanish; the invoice comes out clean either way.
For the full phrase-by-phrase language, read the Voice Playbook. Ten minutes there saves an hour a week.
A 20-second reviewChecking the draft
- The draft appears seconds after you release the mic: line items priced from your shop’s book, labor at your rate, tax handled.
- Scan it. Wrong quantity, wrong part? Tap the draft to open the editor and fix any line by hand, or just record another note with the correction.
- Invoice or estimate? Flip the toggle on the draft. Estimates go out as quotes the customer approves online (and can put a deposit on); invoices are bills. Same recording, your choice.
The payoffSending & getting paid
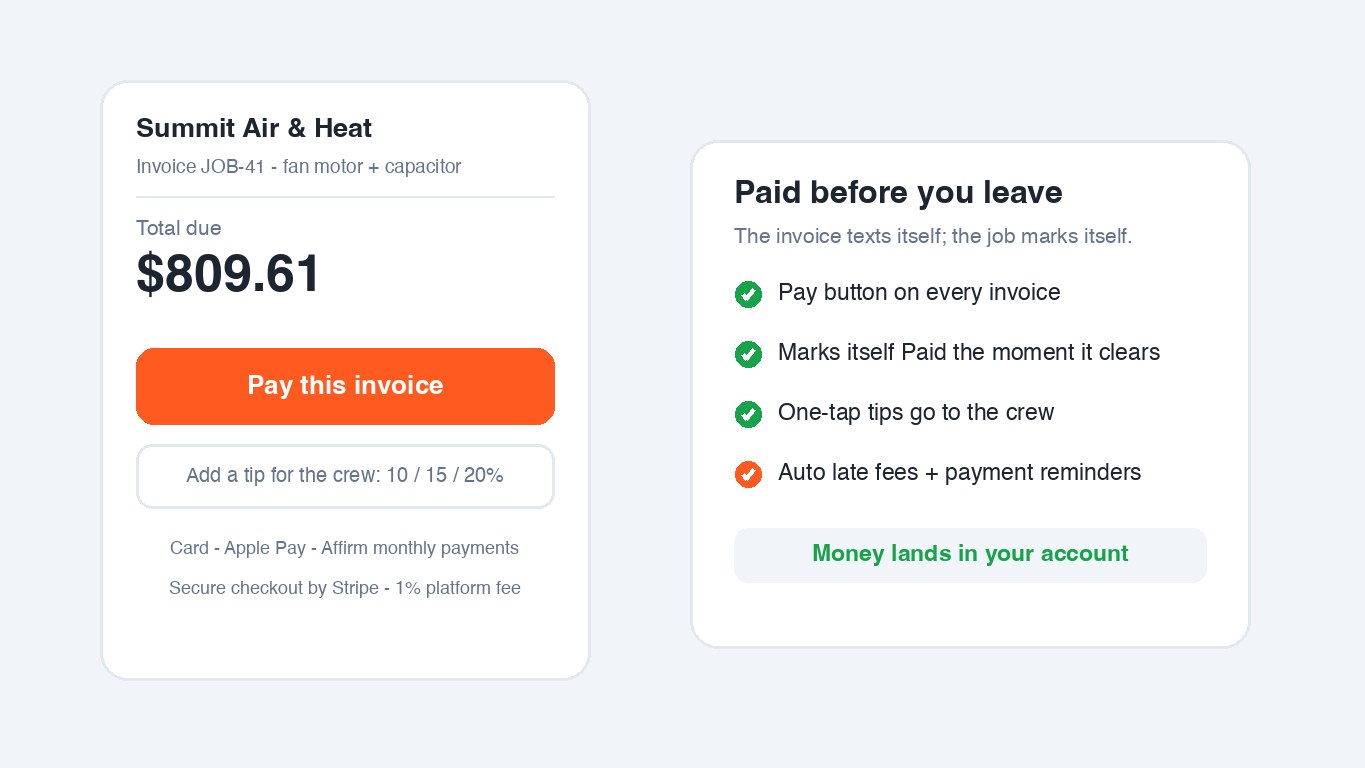
- Tap send. The customer gets a text (or email) with a clean PDF and a Pay button.
- Many customers pay by card before you’ve left the street. The job marks itself Paid, you get the ping, and if they add a tip at checkout you’re notified of that too.
- Cash or check? Mark the job paid from the Jobs tab so your numbers stay true.
Big jobs, collected in piecesStage payments on big jobs
On a big install the customer usually doesn’t pay once at the end; they pay a down payment, then the rest as the work lands. FieldForge handles that on the job screen:
- Open the job and tap Split into stage payments. Pick a preset (50/50, 50/25/25, thirds) or set your own amounts; they have to add up to the balance, and the screen does that math for you.
- The customer’s pay link now charges one stage at a time, starting with the down payment. They always see the full schedule and what’s due now.
- Handed a check on site? Tap Mark paid on that stage and pick how they paid. When the last stage lands, the invoice marks itself Paid.
Before you leaveGetting the customer’s signature
A signature turns “he said, she said” into paperwork. Collect one whenever the customer is standing next to you at a money moment: an estimate they’re approving on the spot, a completed repair they’re accepting, or any big-ticket work you want acknowledged in writing.
- Open the job and tap Get signature.
- Hand the customer your phone. They sign the screen with a finger, right over the line that says what the signature acknowledges.
- Tap save. The signature is stored on the job with a timestamp and can never be changed or deleted. It shows on the job record from then on.
Before you tap DoneJob checklists
Some visits come with a checklist from the office: tune-up steps, install QA, safety checks. If a visit has one, you’ll see a 📋 Checklist card right on the booking in your Schedule.
- Open the booking and work through the items: tick the checkboxes, answer the yes/no questions, type the short answers (a temp reading, a model number). Note lines are just reminders, nothing to fill in.
- Tap Save progress any time; your answers keep, even if you close the app and come back after lunch.
- When every item is answered, tap Complete. The card collapses to a green ✓ and the office can see every answer.
Never front money silentlyReceipts: how you get reimbursed
Bought parts mid-job with your own card? Don’t lose the receipt in the dash. There’s a system:
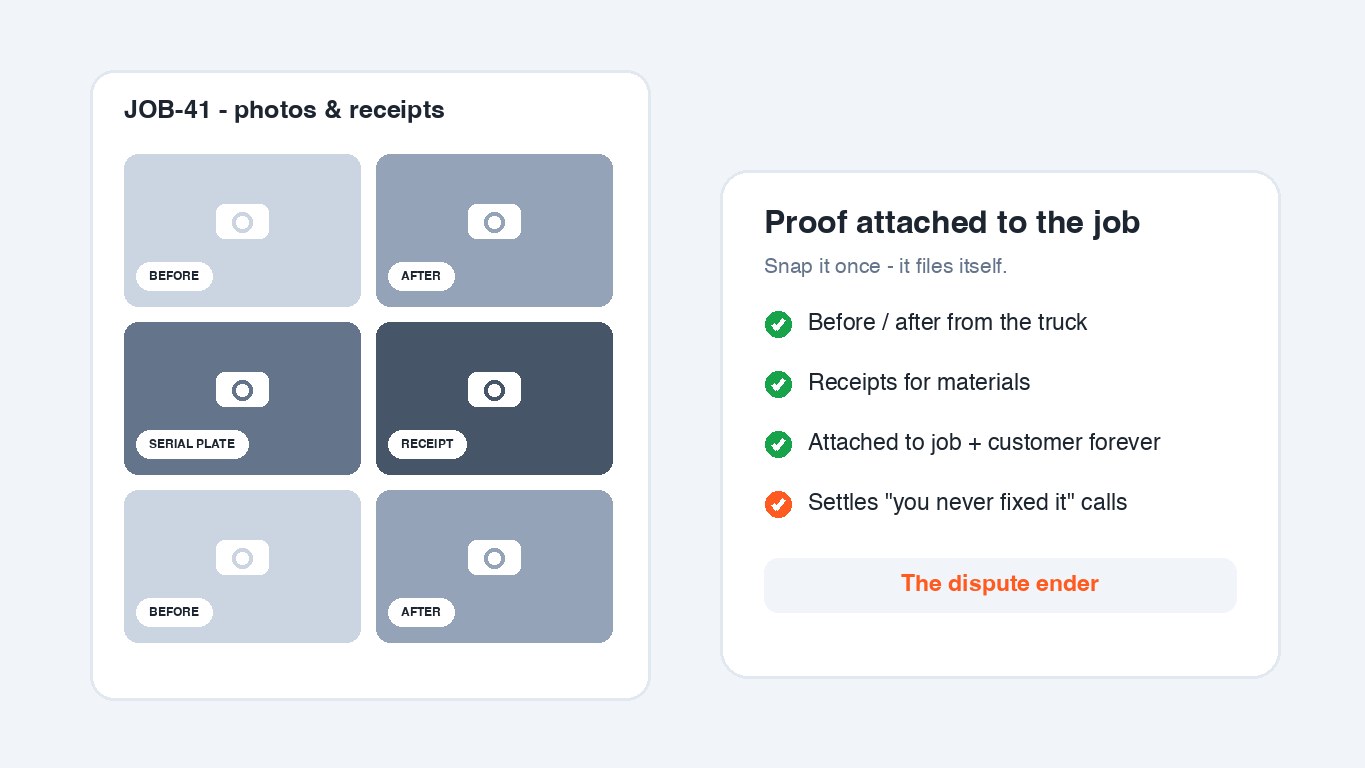
- On the job, open photos and snap the receipt. Choose receipt, enter the amount, and pick “my own money” (versus the company card).
- That’s it for you. The owner sees a reimbursement request waiting in Payroll, photo attached.
- When they approve it, the amount is added to your pay for the period. You’ll see it as its own line in My Pay. No envelopes, no “remind me Friday.”
One tap on restock dayYour truck stock
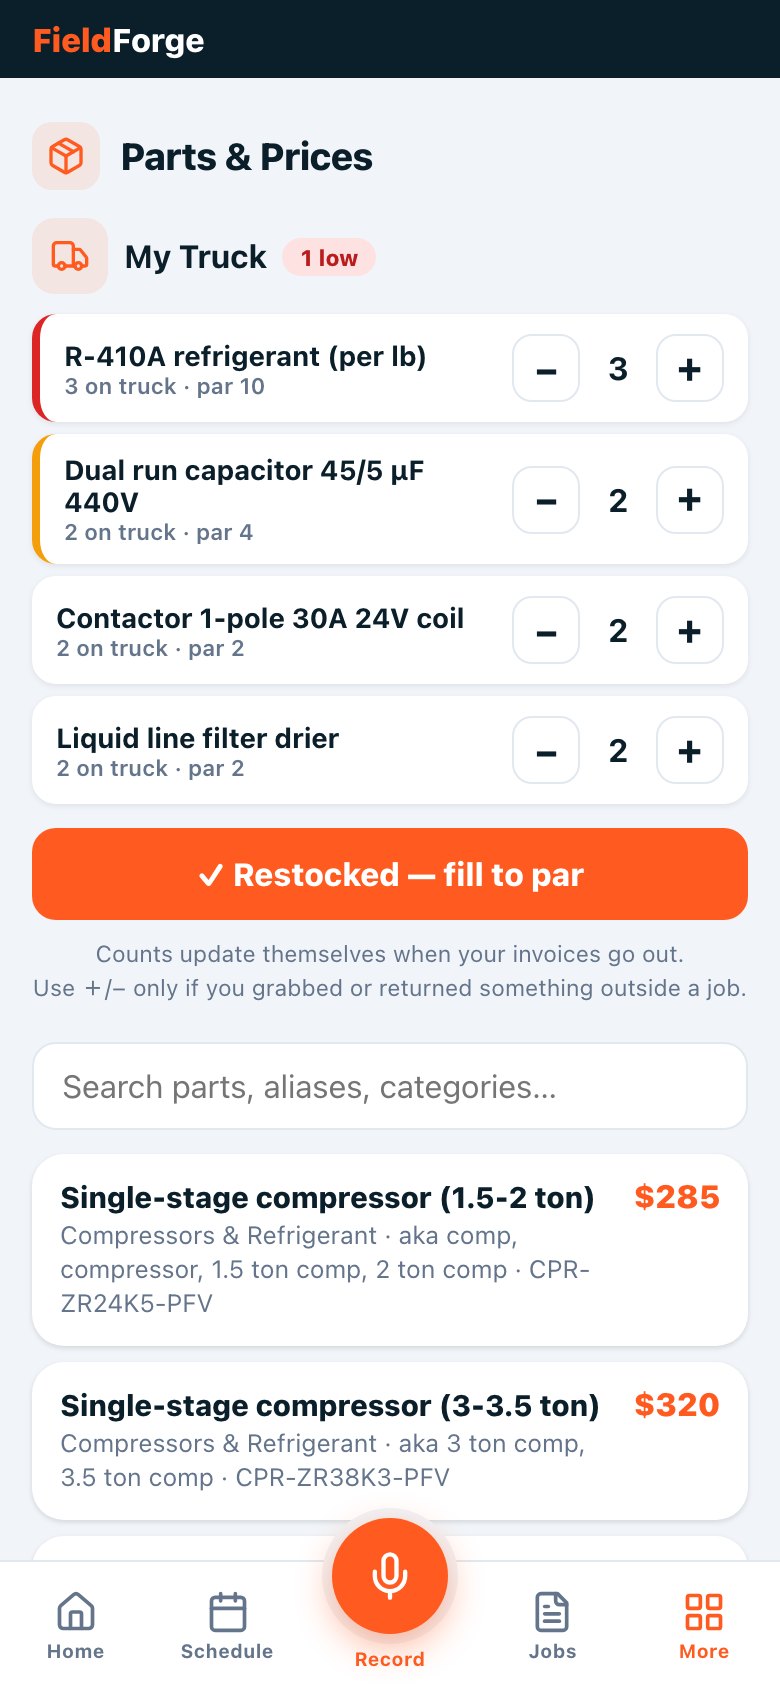
If your shop tracks truck stock, here’s your entire job: nothing. Parts you put on invoices come off your truck count automatically.
- Work your normal day. Every sent invoice updates your counts by itself.
- On restock day, load the truck like always and tap “Restocked, fill to par.” Done.
- Use the +/− steppers only if you grabbed or returned something outside a job, and + Add a part to my truck when you load something new: search the price book, set the count, done.
Watch it buildMy Pay
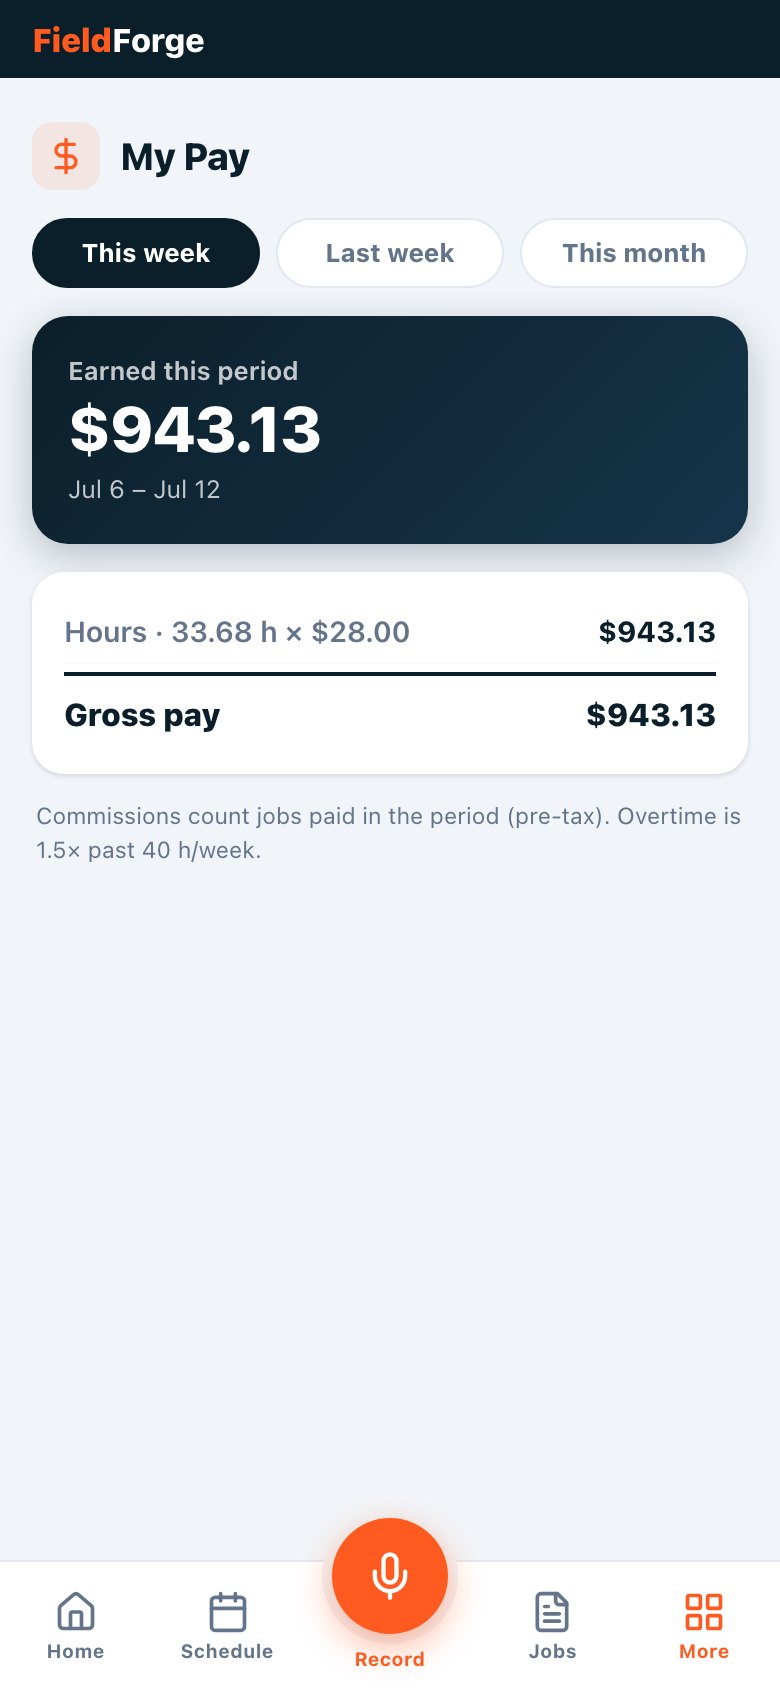
My Pay shows your money for the period building in real time: hourly from your clock-ins, commissions when jobs get paid (money in hand is what counts, not just sent), spiffs, tips, and approved reimbursements.
- Every dollar has a line. If a number looks off, the breakdown shows exactly where it came from.
- Overtime past 40 hours in a week pays 1.5× automatically.
- Pay periods close when the owner runs payroll; your approved hours and commissions ride along.